Recipes
Blackberry crumble slices
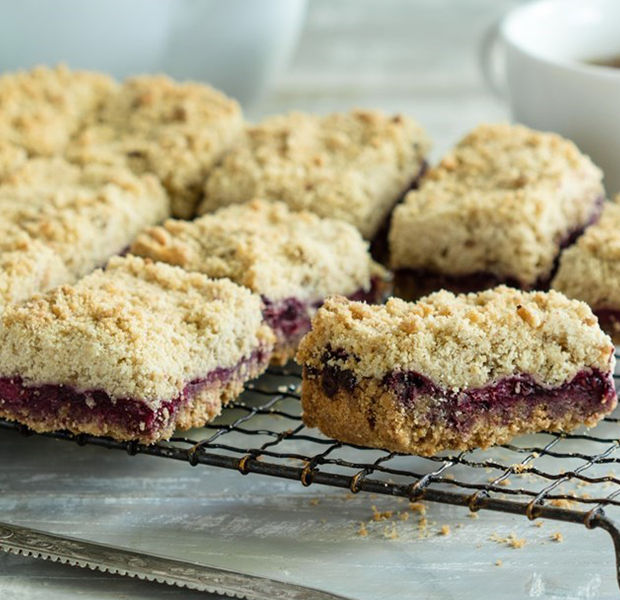
Tart, juicy blackberries on a buttery digestive biscuit base, topped with toasty crumble – the perfect combination!
Tart, juicy blackberries on a buttery digestive biscuit base, topped with toasty crumble – the perfect combination!
Cook: 1 Hour 10 Mins
Serves: 12
Price: 56p per serving
Nutritional Information
Each 104g serving contains
Energy
1393kj
333kcal
1393kj
333kcal
17%
Fat
16.6g
16.6g
Med
24%
24%
Saturates
9.3g
9.3g
Med
47%
47%
Sugars
19.8g
19.8g
High
22%
22%
Salt
0.30g
0.30g
Med
5%
5%
of your reference intake.
Typical energy values per 100g:
1339kj/320kcal
Typical energy values per 100g:
1339kj/320kcal
Ingredients
250g digestive biscuits
175g unsalted butter
90g Silver Spoon British Caster Sugar
450g fresh blackberries
2tbsp Asda Bramley Apple Sauce
175g plain flour
75g demerara sugar
Method
1
Line a 20cm-square deep brownie tin with a long piece of baking paper – the ends should overhang the edges of the tin on both sides.
2
For the biscuit base, blitz the digestives into fine crumbs in a food processor, or put in a strong freezer bag and crush with a rolling pin.
3
Melt 100g of the butter and 40g of the caster sugar in a pan over a low heat, then add the biscuit crumbs. Stir to combine.
4
Tip the mixture into the tin then spread over the base in an even layer, pressing down with the back of a large spoon. Chill in the fridge to firm.
5
Meanwhile, make the blackberry filling. Heat the blackberries, apple sauce and remaining caster sugar in a pan, until the berries begin to soften. Take off the heat, then remove from the pan with a slotted spoon, draining most of the juice – save the juice to use in another recipe.
6
Gently squash the berries with a potato masher or fork. Remove the biscuit base from the fridge and spread the berry mixture over it. Return to the fridge.
7
Preheat the oven to 180C/160C Fan/Gas 4.
8
In a large mixing bowl, rub the flour and the remaining butter together using your fingertips. When it begins to resemble breadcrumbs, add the demerara sugar and stir to combine.
9
Remove the tin from the fridge and sprinkle the crumble topping mixture evenly over the fruit filling.
10
Bake for 25-30 mins until the crumble is golden brown at the edges.
11
Allow to cool fully in the tin, then remove carefully, using
